UrduFonts.com is the largest online repository, which provides high-quality Urdu fonts. Each font in our collection is a carefully selected, tested and made available for free.
UrduFonts.com is the largest online repository, which provides high-quality Urdu fonts. Each font in our collection is a carefully selected, tested and made available for free.
How can you install and configure Urdu fonts in MS Word? Let's get more information about it.
Learn how to easily install and use Urdu fonts on your macOS with this quick tutorial. Follow the step-by-step guide and enhance your typing and design experience in Urdu.
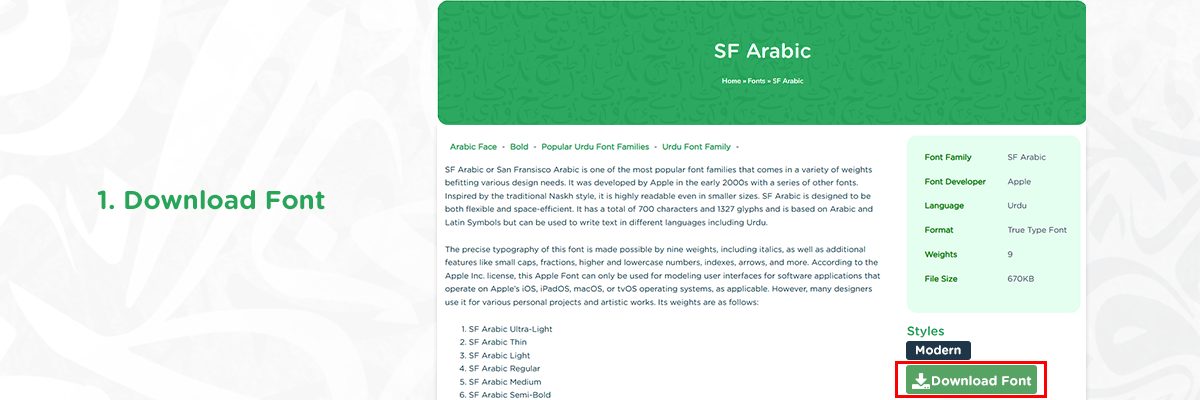
Download Urdu Fonts
Unzip the Font
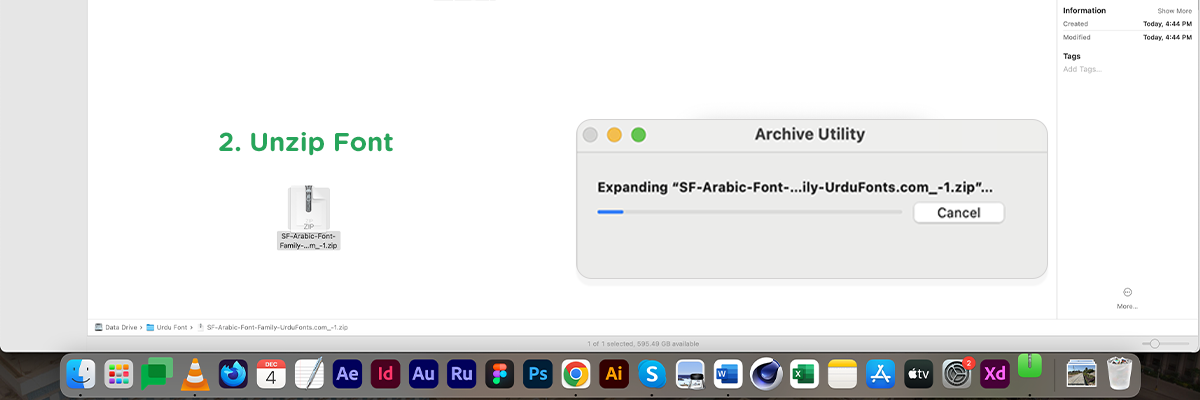
Right-click Urdu font file to unzip. You will get the .ttf or .otf font files.
Install the Font
1. Open Font Book:
2. Add the Font:
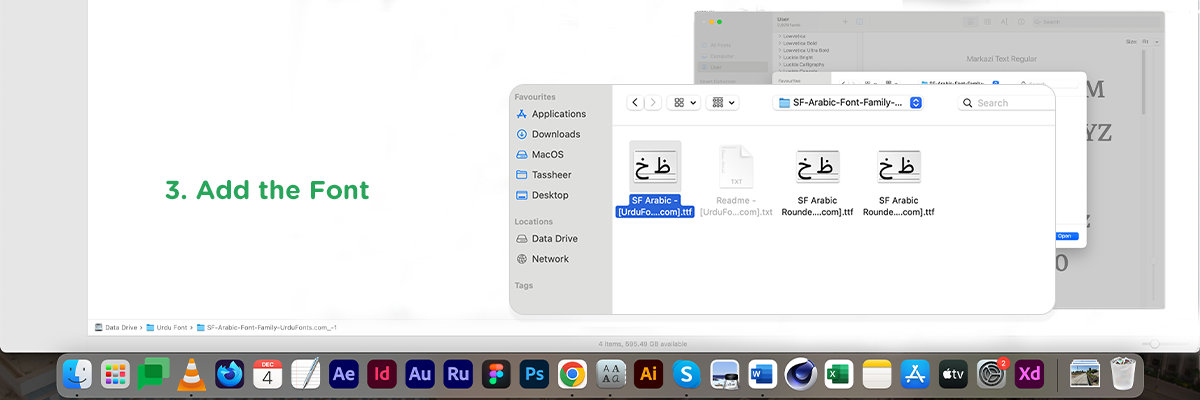
In the Font Book app, go to File and then Add Fonts, or simply drag and drop the Urdu font file into the Font Book window.
3. Confirm Installation:
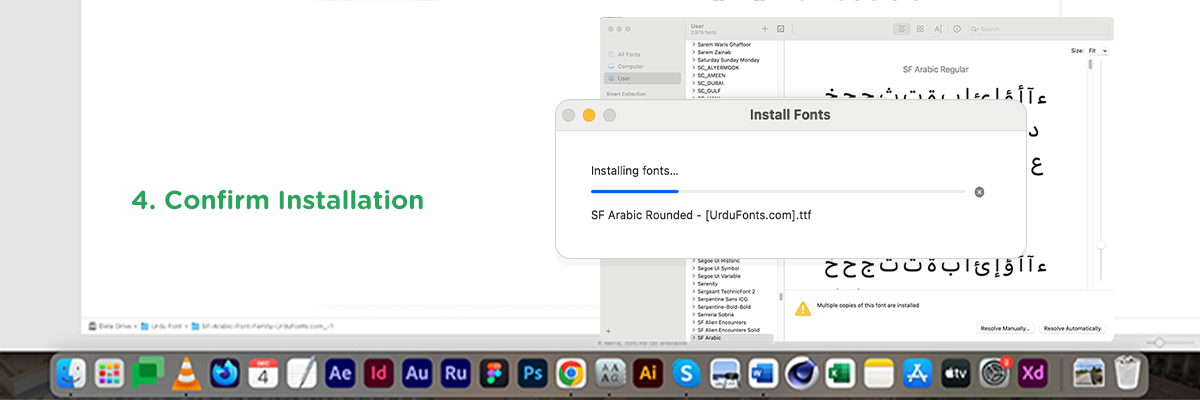
The font will be installed and appear in the list within Font Book. You can now use it across your system.
Font is Available for Use

Adding Urdu fonts to your macOS is a straightforward process. It opens up new ways to stylize your Urdu texts. For whatever purpose you want, having the right Urdu fonts installed makes all the difference. By following the steps, we discussed above in this guide, you can easily set up your Mac for a beautiful Urdu typing experience.

Dedicated Urdu Fonts contributor sharing expertise in typography, font installation, design assets, and language technology trends.
Compatible with most of the software which are of mobile, desktop and websites.
